Managing Consoles and Groups
The console selector occupies the left side of the main window. The console selector displays consoles and console groups.
- Adding Consoles
- Console Details
- Console Groups
- Hiding and Showing the Console List
- Console List Context Menus
- Setting a Default Console
- Importing and Exporting Console and Group Data
- Removing all Consoles and Groups
- Removing all Consoles in a Group
- Troubleshooting Xbox One Manager Connectivity
Adding Consoles
Xbox One Manager maintains a list of the consoles you work with, so that you can quickly choose which console to work with. You can hide or show the list using the show/hide button on the bar between the console list and the details panel on the right side of the window.
To add a console
- Run Xbox One Manager from the start menu shortcut created by XDK setup.
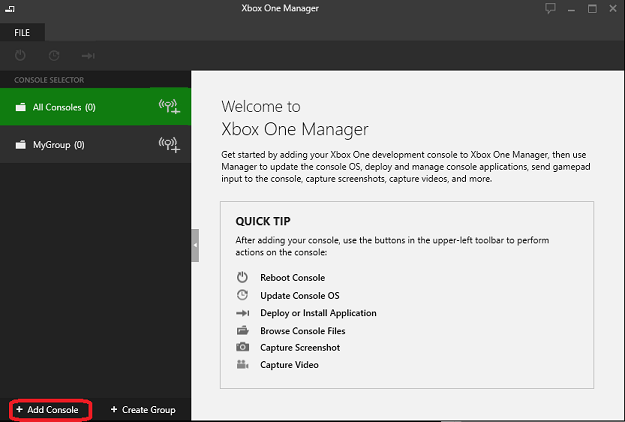
- Click Add Console.
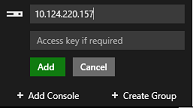
- Enter the IPv4 address or host name of the console that you wish to add, enter the access key for the console if it is configured with one, and click Add. Note that your development PC and the console must be on the same subnet for hostname connectivity to work.
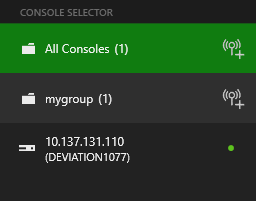
- After a slight delay, you will see the console’s IP address added to the list on the left side of the Xbox One Manager window. Select the console’s IP address to view or operate on the console.
Console Details
Clicking the address or name of a console causes additional tabs to be shown, allowing you to get additional information on the console or perform actions on the console.
Console Groups
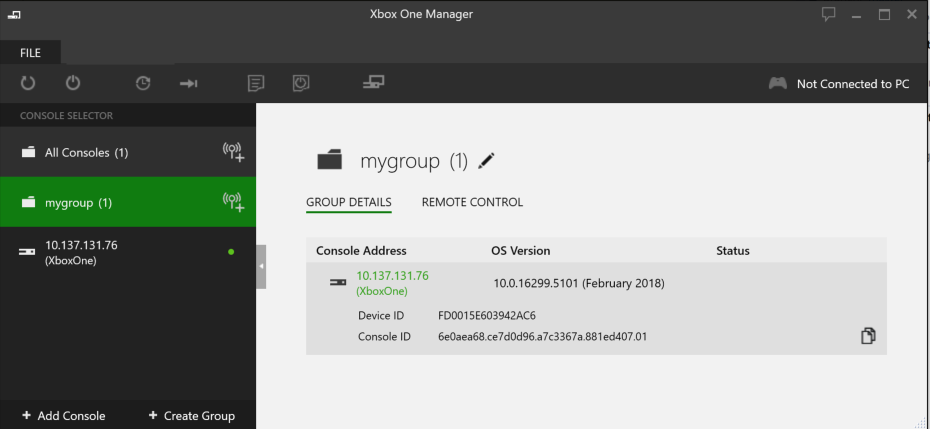
Console groups are a user defined collection of consoles. Console groups allow actions, such as installing an application, to be performed on all of the consoles in the group at once. Console groups are created using the Create Group button.
Adding Consoles to Console Groups
Consoles can be added to a user created console group using either of the following methods:
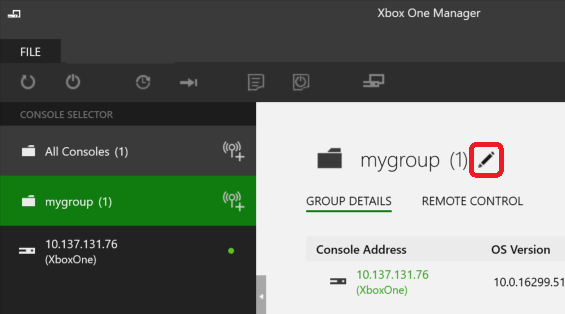
- Selecting the edit group icon and selecting individual consoles from the list that appears
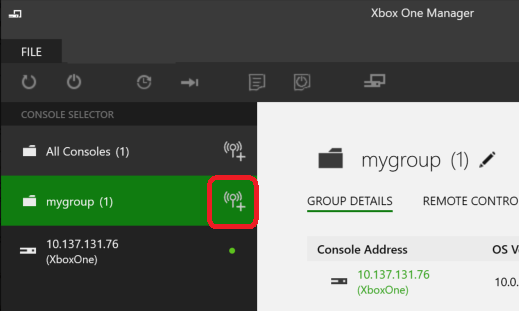
- Selecting the Browse Network Consoles icon to the right of the group name and selecting local consoles from the list that appears. Multi-select is enabled on the list and you can add several consoles to a group at a time without having to click Browse Network Consoles multiple times.
Group Details
The Group Details tab lists the consoles in a group and allows you to add and remove consoles from a group. The Group Details tab also allows you to perform the following actions:
- You can view and copy console details
- You can see progress information and errors for all consoles in a group, for example, you can track the progress for application installs and console OS updates for all consoles in a group in one central location.
- Double-clicking on a console jumps directly to the individual console’s Applications tab
Guidance on the Size of Groups
the Groups feature does not optimize the recovery or app deployment mechanism. For example, using a Group to install a new recovery on 10 consoles is the same as running 10 simultaneous recovery commands. This means that the performance of recovery or game deployment is dependent on your hardware and network setup, particularly the performance of the network card in the PC running the command and the network bandwidth between that PC and the consoles you are targeting. The more consoles you have in a group, the more the command you execute is going to bottleneck on your PC’s network performance. Please take this into account when using the Groups feature. For example it might make more sense to deploy a game to 32 consoles from 2 different PCs, than from a single PC. In that case you would want to set up 2 groups each containing 16 consoles rather than a single group containing 32 consoles.
We have successfully tested recovering and deploying to groups with up to 16 consoles in them (for example running recovery against a group with 16 consoles in it, push deploying a 40GB game to a group with 16 consoles in it). The optimal size of groups for your studio will depend on your hardware and network setup and your experience may vary from ours. Please give us your feedback on what does and does not work well for you.
Use Local Assets
If you are using Groups to run recovery for a set of consoles or to push deploy a game, we recommend that you copy all of the assets to the PC that is performing the command. For example copy the recovery files to the PC running the recovery command, rather than leaving those files on a file server. This avoids having repeatedly to copy the files from the file server to your local PC and then to the console.
Deploying Packaged Games from a Web Server Scales Best
These guidelines around scalability do not apply to installing a packaged game (“install app package”) from a web server – in that case the package is streamed directly from the web server to the target console. If you wish to simultaneously deploy to a large number of consoles, this is the most efficient solution.
Hiding and Showing the Console List
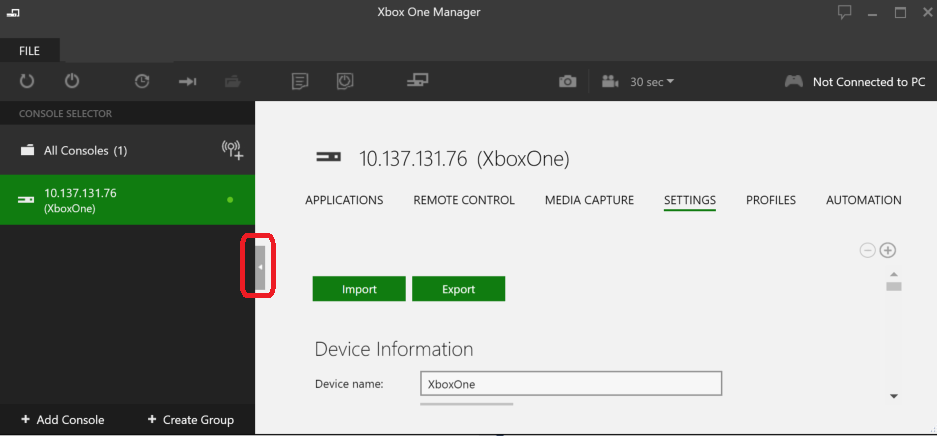
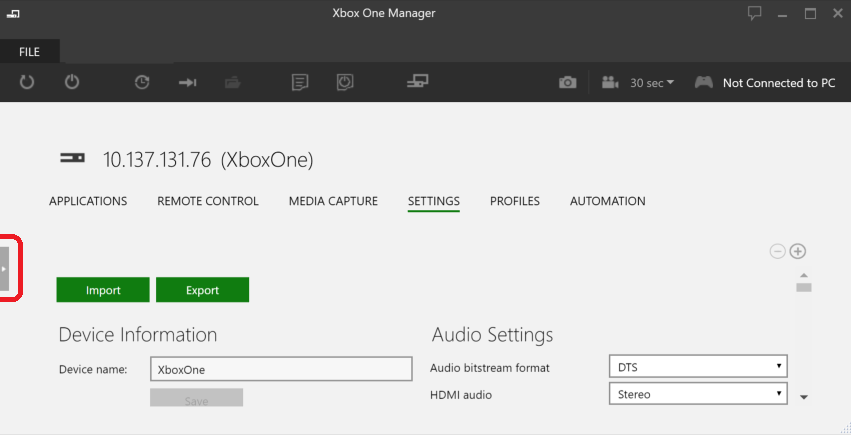
You can hide the console list by clicking the Hide button, and show the list by clicking the Show button.
Figure 1. The Hide button
Console List Context Menus
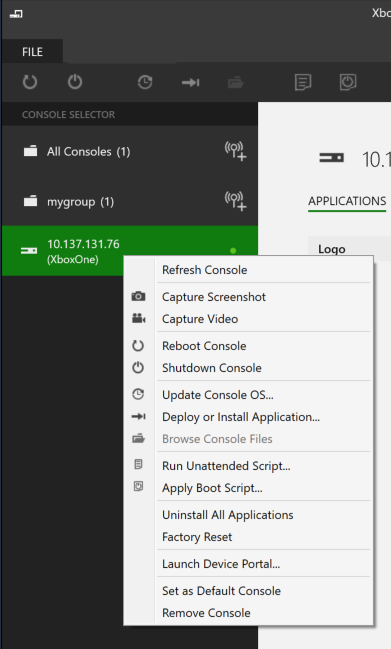
Right clicking on a console displays a list of commands mirroring the menubar commands, plus commands to specify a default console for the PC or remove a console from the selector.
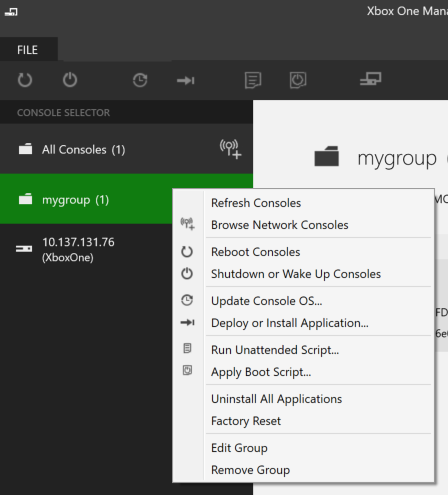
Right clicking on a group displays a list of commands that can be performed on all consoles in the group.
Setting a Default Console
Xbox One Manager allows you to set a default console using the context menus in the console list. Specifying a default console displays an asterisk next to the console icon in the console list, and sets the default console for use by other tools such as the command line tools, Visual Studio, and PIX.
Note that if you have previously set a default console by using xbconnect.exe, the default console you specified will automatically be added to the list of consoles and marked as the default console the next time you launch Xbox One Manager.
To set the default console
- Find the console you want to make the default in the console list.
- Right click on the console to display the context menu for the console.
- Select Set as Default Console in the context menu
- The console will show an asterisk next to the console in the cosnole list and the console will be used by default in command line tools, Visual Studio, and PIX, etc.
Importing and Exporting Console and Group Data
Xbox One Manager allows you to export your console and group data to an XML file and import that data on another computer running Xbox One Manager.
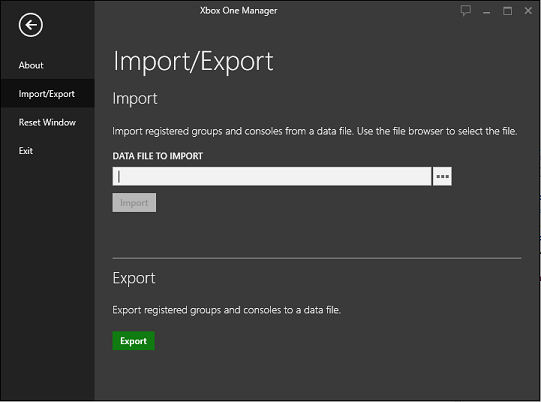
To export console and group data
- Click File in the menu bar
- Click Import/Export
- Click Export
Your console and group data will be saved in an XML file that contains a list of your current consoles and console groups. For example:
<?xml version="1.0" encoding="utf-8"?>
<ConsoleCollection xmlns:xsd="http://www.w3.org/2001/XMLSchema" xmlns:xsi="http://www.w3.org/2001/XMLSchema-instance" Version="1">
  <Consoles>
    <Console Address="10.120.195.186" />
    <Console Address="10.137.125.26" />
  </Consoles>
  <Groups>
    <Group Name="MyGroup">
      <ConsoleReferences>
        <ConsoleReference Address="10.120.195.186" />
        <ConsoleReference Address="10.137.125.26" />
      </ConsoleReferences>
    </Group>
  </Groups>
</ConsoleCollection>
To import console and group data
- Click File in the menu bar
- Click Import/Export
- Specify the XML you previously exported in the DATA FILE TO IMPORT field
- Click Import
After importing the XML file, the CONSOLE SELECTOR will be updated to include the consoles and console groups in the XML file.
Removing all Consoles and Groups
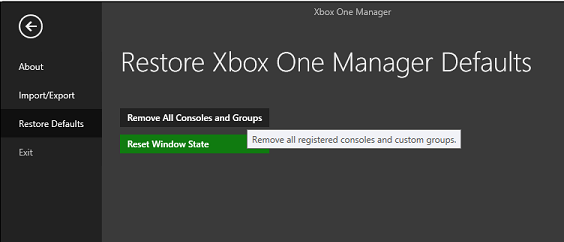
You can remove all registered consoles and custom console groups from Xbox One Manager using the Remove All Consoles and Groups command.
To remove all consoles and groups
- Run Xbox One Manager from the start menu shortcut created by XDK setup.
- Click the File menu.
- Select Restore Defaults in the menu that appears.
- Select Remove All Consoles and Groups from the list on the right side on the window.
Removing all Consoles in a Group
You can remove all consoles in a custom group from Xbox One Manager when you remove the group using the Remove Group command.
To remove all consoles in a group
- Run Xbox One Manager from the start menu shortcut created by XDK setup.
- Right-click the custom group.
- Select Remove Group in the context menu that appears.
- Select Remove consoles from the Xbox One Manager checkbox.
- Click the Yes button.
Troubleshooting Xbox One Manager Connectivity
In cases where Xbox One Manager can’t connect to a console check the following common issues first:
-
The console is using WiFi instead of wired networking. The transport used by xbconnect and Xbox One Manager do not get a valid Host IP address when connected via WiFi.
-
The ability to get IP addresses is sometimes controlled by an allow list of MAC addresses. The Host IP address is coming from a different MAC address on the console, so if your studio has an allow list, you need to make sure that the Host MAC is also added to the allow list. You can find the network MAC addresses for a console by going to the retail Settings app, then Network -> Network Settings -> Advanced Settings.
Note: Xbox One Manager cannot connect to a console if xbconnect shows the following:
HOST: Unreachable.